Einführung
Securing parking spaces is a growing priority in both public and private environments. Whether you manage a commercial lot, residential complex, or simply want to reserve a personal spot, installing parking locks offers an effective deterrent against unauthorized use.
This guide provides a comprehensive walkthrough for installing different types of parking locks across varied surfaces—concrete, asphalt, and indoor garage flooring. It is ideal for contractors, facility managers, or DIY users aiming for reliable and long-lasting installations.
Types of Parking Locks and Their Installation Differences
Before diving into the process, it’s essential to understand the primary categories of parking locks:
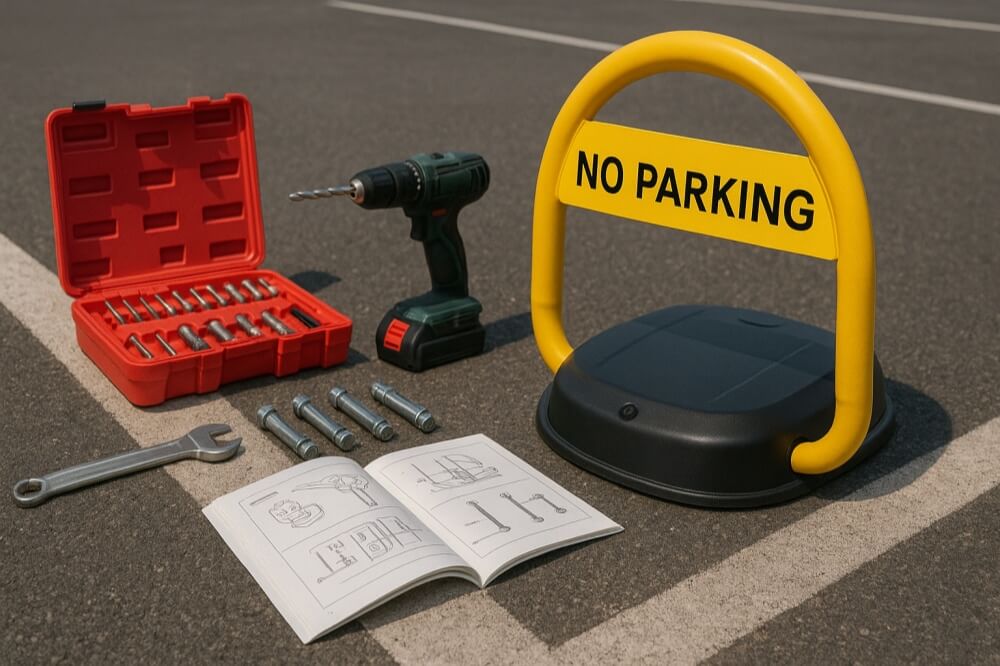
Manual Folding Parking Locks
- Operated by hand.
- Simpler structure and no power requirement.
- Installed via expansion bolts.
Automatic/Smart Parking Locks
- Controlled remotely or via smartphone apps.
- Powered by internal batteries or external power.
- Installation includes anchoring and electrical preparation.
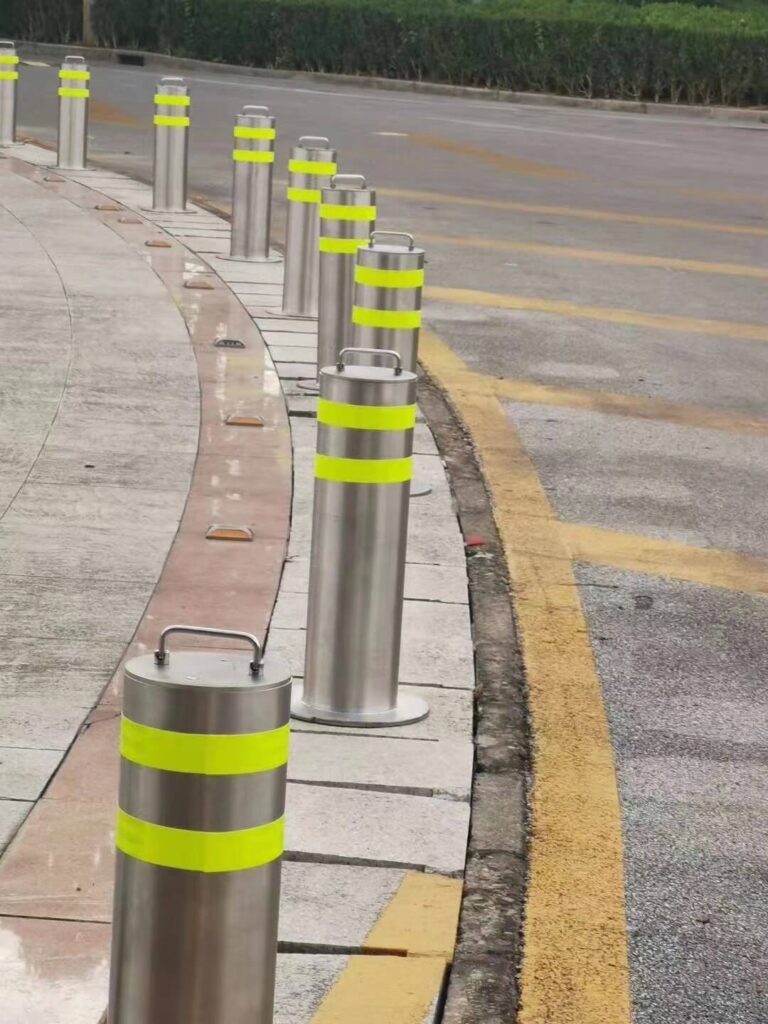
Bollard-Style Parking Locks
- Fixed or retractable vertical posts.
- Heavier-duty and often used for access control.
- May involve digging and pouring concrete for anchoring.
Each type has specific installation needs. The choice affects tools, labor, and the way it interacts with the surface.
Tools and Materials Required
Here’s a generalized checklist that covers all types of installations:
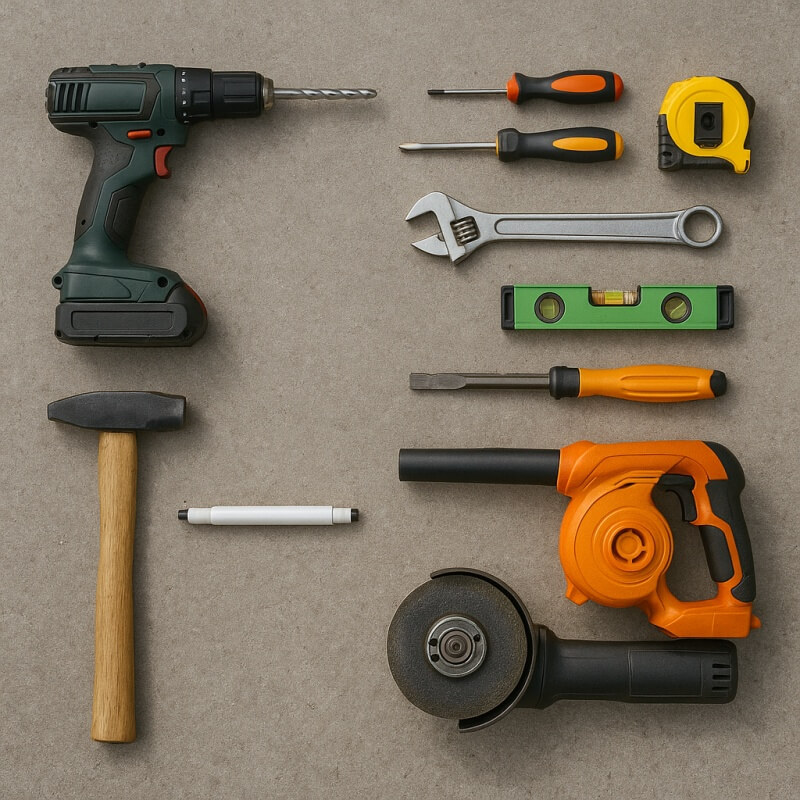
🧰 Tools:
- Electric impact drill with masonry bits
- Screwdrivers and adjustable wrenches
- Measuring tape and level
- Hammer or mallet
- Markers or chalk line
- Vacuum or air blower (for hole cleaning)
- Grinder or chisel (for removing coatings or leveling surfaces)

🧱 Materials:
- Expansion bolts or anchor screws
- Epoxy resin or anchoring adhesive (for soft/asphalt bases)
- Concrete (for embedded installations)
- Sealant for waterproofing
- Optional: PVC conduit for wiring or drainage
Note: For smart locks, also prepare wire connectors and insulation for battery or power hookup.
Pre-Installation Preparation
- Determine Lock Placement
- Usually installed at the head of the parking space.
- Centered width-wise and positioned to prevent car entry when raised.
- Surface Assessment
- Ensure the installation site is flat and free of debris.
- For asphalt or epoxy-coated floors, consider their lower load-bearing capacity.
- Safety First
- Wear gloves, eye protection, and hearing protection.
- Use signage to cordon off the area during drilling or concrete work.
Installation Guide by Lock Type and Surface
🛑 Manual Folding Parking Locks
A. Concrete Surface
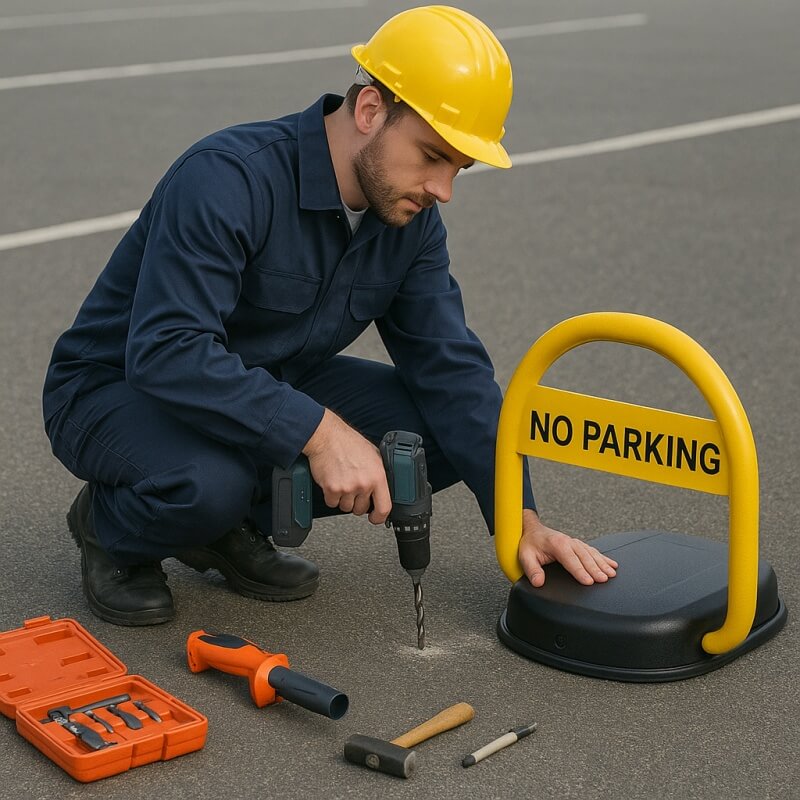
- Place the lock and mark mounting holes.
- Drill holes (approx. 12–16mm diameter, depending on bolt size).
- Clean out dust using an air blower or vacuum.
- Insert expansion bolts and align base.
- Tighten bolts with a wrench.
- Attach the folding arm and test its movement.
B. Asphalt Surface
- Asphalt is softer. Pre-fill holes with epoxy or embed a small concrete pad:
- Drill into asphalt until reaching base material.
- Fill holes with anchoring adhesive.
- Insert bolts and install the lock as with concrete.
C. Indoor Epoxy Floor
- Epoxy coatings are prone to cracking:
- Remove coating at drill points with grinder.
- Drill through to underlying concrete.
- Follow concrete installation steps, using sealant afterward.
📱 Automatic/Smart Parking Locks
A. Concrete Surface
- Mark and drill anchor holes.
- Install bolts or chemical anchors.
- Connect battery or route power wires if required.
- Attach the control unit and test with remote/app.
- Seal exposed cables and close all covers securely.
B. Asphalt Surface
- Reinforce foundation before mounting:
- Cut a shallow trench if routing power cables.
- Prepare concrete backfill area if needed.
- Mount the lock and ensure waterproofing.
C. Indoor Garage Floor
- Risk of electric short if moisture seeps in:
- Use moisture-resistant sealants on wire junctions.
- Elevate power ports slightly above floor level.
Tip: Check Bluetooth or remote signal range before final tightening.

🚧 Bollard-Style Parking Locks
A. Concrete Embedded Installation
- Cut and dig a hole (typically 300mm diameter × 500mm deep).
- Lay crushed gravel for drainage.
- Insert steel reinforcement or anchor cage.
- Position bollard and secure with braces.
- Pour concrete and vibrate to remove air pockets.
- Allow 48–72 hours for curing before use.
B. Surface-Mounted (Concrete/Asphalt)
- Use large expansion bolts or anchor studs.
- Ensure the base plate lies flat and level.
- For asphalt, create a concrete slab under the plate to prevent shifting.
C. Indoor Floor
- Often only surface-mounted:
- Avoid anchoring directly to epoxy; expose bare concrete.
- Use chemical anchors or heavy-duty screws.
Post-Installation Testing and Maintenance
- Tightness Check
- Recheck all bolts after 24 hours.
- For embedded locks, monitor for cracking or sinking.
- Functionality Test
- Test opening/closing at least 5 times.
- Check remote/app signal strength for smart locks.
- Waterproofing
- Apply silicone or rubber gaskets around exposed points.
- Ongoing Maintenance
- Grease moving joints (for manual locks).
- Check battery status monthly (for automatic locks).
- Inspect bolts quarterly for corrosion or loosening.
Häufig zu vermeidende Fehler
- Inadequate Hole Cleaning: Dust prevents proper anchoring.
- Using Wrong Anchors for Asphalt: Use epoxy-based or deep-thread anchors instead of standard expansion bolts.
- Skipping Leveling Step: Leads to misalignment and uneven lock operation.
- Installing Without Drainage Consideration: Especially for embedded bollards, always include gravel or drain pipe.
- Poor Wire Sealing: Exposed wires may short-circuit, especially in rainy or indoor humid conditions.
Schlussfolgerung
Installing a parking lock isn’t just about bolting it to the ground—it’s about ensuring long-term performance, safety, and reliability. Each type of lock and surface demands careful planning and execution.
With proper tools, materials, and attention to detail, even DIY installations can match professional results.
Whether you’re managing a private lot or protecting your personal space, a correctly installed parking lock offers peace of mind and control over access.


